Introduction
Time-lapse videos are visually engaging and have a unique ability to captivate audiences. These videos are created by capturing individual frames at set intervals over a period of time and then compiling them into a video. But can a webcam, typically used for video conferencing or streaming, be repurposed to create time-lapse videos? The answer is a resounding yes, and this article will guide you through the necessary steps to optimize your webcam for this creative endeavor.
Benefits of Using a Webcam for Time-Lapse Videos
Apart from being cost-effective, using a webcam for time-lapse videos has several advantages. These include:
- Accessibility: Most laptops and desktops come equipped with built-in webcams.
- Cost-Effective: Webcams are generally cheaper compared to specialized time-lapse cameras.
- Ease of Use: Modern webcam software often includes features that facilitate time-lapse photography.
The table below summarizes the key benefits:
| Feature | Benefit |
|---|---|
| Accessibility | Built-in or easy to procure |
| Cost-Effective | Cheaper than specialized cameras |
| Ease of Use | Simple software interface |
Essential Tools and Software
Choosing the Right Webcam
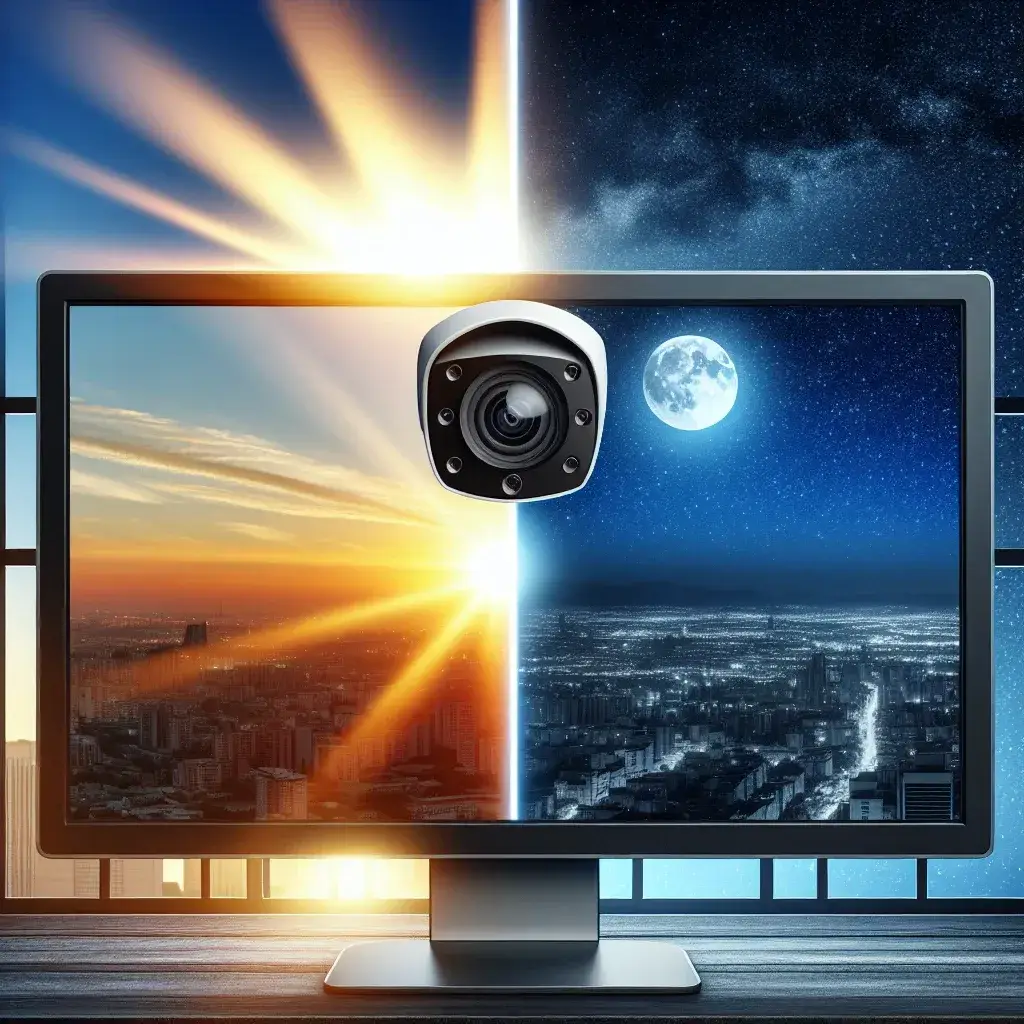
While almost any webcam can be used for time-lapse videos, the quality of the final video will often depend on the resolution and frame rate of the webcam. A webcam with at least 720p resolution is advisable for decent quality.
Software Tools
Several software programs can assist in capturing and compiling time-lapse videos. Some popular choices include:
- OBS Studio: Open-source software that allows for customized recording intervals.
- Yawcam: Free software for Windows that includes time-lapse features.
- Webcam Timelapse: A dedicated time-lapse application for Windows users.
Step-by-Step Guide to Creating Time-Lapse Videos with a Webcam
Step 1: Setting Up Your Webcam
Ensure your webcam is properly positioned and stable. A tripod or a flat, stable surface will help in maintaining consistent framing.
Step 2: Configuring Software Settings
Open your chosen software and configure the interval settings. For most time-lapse videos, an interval of 1-5 seconds is ideal.
Step 3: Capturing Frames
Start the capture process and allow your webcam to capture frames over the desired time period. Ensure your computer remains on and active.
Step 4: Compiling the Frames
Once the frames are captured, use video editing software to compile them into a video. Adjust the frames per second (FPS) to achieve the desired speed of playback.
Tips for Optimal Results
- Lighting: Ensure good lighting conditions to avoid grainy or low-quality frames.
- Stability: Keep the webcam stable to prevent shaky footage.
- Intervals: Test different interval settings to find what works best for your specific subject.
Potential Challenges
Using a webcam for time-lapse videos comes with its own set of challenges:
- Overheating: Prolonged use may cause your webcam to overheat.
- Storage: Time-lapse videos can result in large file sizes, requiring substantial storage space.
- Power Consumption: Ensure your computer is connected to a power source to avoid interruptions.
Conclusion
Creating time-lapse videos with a webcam is not only feasible but also practical for those on a budget or just starting out. With the right tools and techniques, you can produce stunning visual content. Whether you’re documenting the growth of a plant, the bustling activity of a city, or the changing skies, your webcam can be a valuable tool in your creative arsenal.